

For printers and legacy apps that cannot use OAuth, configure SMTP relay through your Microsoft 365 inbound connector using the tenant MX endpoint, or through Google's smtp-relay.gmail.com; both typically run on port 25 with IP or TLS authentication. For modern apps, client submission with OAuth or a transactional email API is the better fit. Jump to the Microsoft or Google section that matches your environment.
TL;DR:
- Microsoft 365 SMTP relay requires an inbound connector authenticating by static IP or TLS certificate, not mailbox credentials, and must target the MX endpoint.
- Google Workspace's smtp-relay.gmail.com supports IP allowlisting or SMTP authentication, with daily limits of 10,000 recipients and capacity constraints that require pacing.
- Self-hosted Postfix relays must be carefully restricted through relay restrictions and DNS records to prevent open relay risks and ensure proper authentication.
- Authenticating SPF, DKIM, DMARC, and PTR records before sending is crucial to prevent deliverability failures and maintain sender reputation.
- Managed relay services can simplify operations for high-volume or sensitive email flows, reducing maintenance and reputation management burdens.
Table of Contents
- SMTP relay vs. client submission vs. direct send
- Setting up Microsoft 365 SMTP relay with an inbound connector
- Configuring Google Workspace's SMTP relay service
- Postfix relay configuration without creating an open relay
- Getting SPF, DKIM, DMARC, and PTR right before you send
- Fixing common SMTP errors using reply codes and logs
- A step-by-step checklist to finish setup and confirm delivery
- When a managed relay makes more sense than self-hosting
- Get SMTP relay running without the maintenance overhead
- FAQ
- Sources
SMTP relay vs. client submission vs. direct send
Before touching any configuration screen, you need to know which of three delivery paths actually fits your sender. Each one solves a different problem, and picking the wrong one is the most common reason relay setups fail or get flagged as abuse.
SMTP relay routes outbound mail through a trusted intermediary (your Microsoft 365 tenant, Google Workspace, or a self-hosted mail transfer agent) that authenticates by IP address or TLS certificate rather than by per-message login credentials. It is built for devices and applications that cannot handle modern authentication: scanners, printers, monitoring systems, legacy line-of-business software, and on-premises Exchange servers forwarding to the cloud.
Client SMTP submission uses a mailbox's own credentials (username, password, or OAuth token) to send as that specific user, typically over port 587. This fits scripts and apps that send on behalf of one named sender and can support modern authentication.
Direct send skips any relay and delivers straight from your own IP to the recipient's mail server. It avoids a dependency on a provider's relay but puts your IP's reputation entirely on you, with no built-in deliverability safety net.
A few matching rules make this easier:
- Printers, scanners, and multifunction devices almost always need connector-based or Google relay, since they rarely support OAuth.
- Line-of-business apps that send from a single service account often work better with client submission if they can store a token securely.
- On-premises Exchange servers relaying to the cloud belong on connector-based relay with IP or certificate authentication.
- High-volume transactional sends (receipts, OTPs, password resets) are usually better served by a dedicated email API than by stretching a relay built for office-scale mail.
Setting up Microsoft 365 SMTP relay with an inbound connector
Connector-based relay is the standard path for devices and on-premises systems that send through Microsoft 365 but cannot authenticate like a mailbox user. According to Microsoft's multifunction device guidance, relay requires an inbound connector that authenticates by static public IP address or by TLS certificate, and it targets the tenant MX endpoint rather than the usual client-facing hostname.
Use this sequence:
- Confirm your domain is verified in Microsoft 365 and note your tenant MX record, which follows the pattern
yourtenant-com.mail.protection.outlook.com. - In the Exchange admin center, create a new inbound connector scoped to accept mail from your organization's sending systems.
- Choose an authentication method: a static public IP address (or range) for devices that cannot present a certificate, or a TLS certificate for systems that support it.
- If using IP authentication, add every public IP your sending devices or on-premises relay use.
- Decide whether to require TLS on the connector; for devices that support StartTLS, enabling it closes an easy spoofing avenue.
- On the device or application itself, set the outbound server to your tenant MX endpoint, use port 25, enable StartTLS where supported, and set the MAIL FROM address to any verified domain address.
- Update your SPF record to include the public IPs your relay devices send from, since connector-based relay does not pass through Microsoft's authenticated outbound IPs the way mailbox sending does.
A frequent misconfiguration is pointing devices at smtp.office365.com. That hostname is for client submission with mailbox credentials, not for IP or certificate-based relay, and using it on a connector setup produces authentication failures or outright rejections, as Microsoft's documentation notes.
It is also worth distinguishing relay from client authentication at the protocol level. Microsoft has retired Basic Authentication for Client Submission (SMTP AUTH), but that deprecation applies to mailbox-credential sending. Connector-based relay authenticates by IP or certificate, not by a username and password, so it remains a supported option for legacy devices that have no path to modern authentication.
Pro Tip: If a device supports neither a static IP nor a certificate, check whether it can at least send over port 587 with a mailbox's app password before building a full connector just for one printer.
Configuring Google Workspace's SMTP relay service
Google Workspace offers a purpose-built relay endpoint, smtp-relay.gmail.com, designed for exactly this scenario: devices and applications that need to send as your domain without full Gmail account logins. According to Google's SMTP relay configuration guide, you choose between two authentication modes when setting it up.
- IP address authentication allows any device on an allowlisted IP range to relay without further login, which suits scanners, firewalls, and other systems where storing a password is impractical.
- SMTP AUTH over TLS requires a username and password tied to a Workspace account but works from any network, which fits apps that move between locations or environments.
The relay service supports ports 25, 465, and 587. Port 587 with STARTTLS is generally the safest default for anything that can negotiate TLS during the session, while port 25 remains common for legacy devices and on-premises MTAs.
Capacity planning matters here: Google's relay limits sending to 10,000 recipients per 24-hour period, with a maximum of 100 recipients per connection, according to the same guidance. These limits sit separately from a regular Gmail account's sending caps, so a batch job that fans out to thousands of recipients needs to pace itself or split across connections rather than assuming the relay behaves like an unlimited pipe.
Before going live, confirm your SPF record includes Google's sending ranges, that a PTR record resolves cleanly for your sending IPs, and that TLS is enforced where your devices support it. Google's Postmaster Tools gives ongoing visibility into spam rate, authentication results, and delivery errors once volume starts flowing.
Pro Tip: If you see a 4.7.28 error from Google's relay, it usually points to an authentication mismatch or a rate-limit trigger rather than a hard block; pausing sends briefly often lets the limit window reset.
Postfix relay configuration without creating an open relay
Self-hosted mail transfer agents still need a correctly scoped relay configuration, and Postfix remains the most common choice for Linux-based mail servers forwarding to a cloud relay or another upstream. The risk with any relay config is accidentally letting the world relay through your server, which gets your IP blacklisted fast.
Postfix's own configuration reference centers on a handful of parameters in /etc/postfix/main.cf:
- Set
relayhost = [smtp-relay.gmail.com]:587(or your provider's host), using square brackets to prevent Postfix from performing an MX lookup on the hostname, as recommended in Postfix's SMTP access documentation. - Enable
smtp_sasl_auth_enable = yeswhen your upstream relay requires authentication. - Point
smtp_sasl_password_mapsto a hashed password file containing credentials for that relayhost. - Define
smtpd_relay_restrictions = permit_mynetworks, permit_sasl_authenticated, reject_unauth_destinationso only trusted internal networks or authenticated sessions can relay outbound, as Postfix's configuration guidance specifies.
For environments relaying through more than one upstream (say, internal mail through one provider and external through another), sender-dependent settings let you map specific sender domains to specific relay hosts and credentials, rather than forcing every message through a single relayhost.
Before calling the setup done, verify you have not created an open relay:
- Confirm
smtpd_relay_restrictionsrejects unauthenticated, unauthorized destinations by default. - Test from an external network to confirm your server refuses to relay mail for domains it does not own.
- Check that
permit_mynetworksis scoped to your actual internal ranges, not a broad default that includes untrusted networks.
Pro Tip: Run postconf -n after any change to see only the parameters you have explicitly set, which makes it much faster to spot a misconfigured restriction list.
Getting SPF, DKIM, DMARC, and PTR right before you send
Most relay delivery failures trace back to missing or misaligned authentication records rather than anything wrong with the relay connection itself. Getting these four controls right before you send real volume fixes the largest share of rejections.
- SPF needs to include every IP or relay host that sends on your domain's behalf, including the public IPs behind a Microsoft 365 connector or an on-premises relay feeding into Google's service.
- DKIM signs outbound mail cryptographically so receiving servers can confirm it was not altered in transit; both Microsoft 365 and Google Workspace support enabling DKIM signing for your domain.
- DMARC ties SPF and DKIM together with a policy; starting at
p=nonelets you monitor alignment reports before moving to a stricter enforcement policy once you trust your setup. - PTR (reverse DNS) must resolve cleanly for every sending IP; a mismatch between the forward and reverse records is a common reason legitimate mail gets rejected or quarantined.
TLS deserves its own line item. Requiring TLS on a Microsoft 365 connector is a reasonable default for devices that support StartTLS, but a certificate subject that does not match the hostname the connector expects causes the handshake to fail outright, so confirm the certificate's subject name before flipping that requirement on.
Beyond authentication, a few anti-abuse habits keep a relay healthy over time: allowlist only the IPs that genuinely need to send, apply rate limiting on any self-hosted relay to catch a compromised device before it burns your reputation, and maintain a current suppression list so bounced or unsubscribed addresses stop generating repeat failures.

Fixing common SMTP errors using reply codes and logs
SMTP reply codes tell you almost everything you need to diagnose a stuck relay, provided you know how to read them. Codes in the 4xx range are transient, meaning the receiving server wants you to retry later; 5xx codes are permanent failures that will not resolve by simply resending. Codes like 4.7.x or 5.7.x specifically point to policy or anti-spam rejections rather than a routing problem.
- Start with a manual handshake using
telnet yourhost 25oropenssl s_client -starttls smtp -connect yourhost:587to confirm the server answers and negotiates TLS correctly. - Walk through
MAIL FROM,RCPT TO, andDATAmanually to see exactly where the session fails. - Check
/var/log/mail.logon a Postfix server for the specific rejection reason tied to a given message ID. - In Microsoft 365 or Google Workspace, pull the message trace or Admin console logs for the same timestamp to see how the receiving side logged the attempt.
- Match the failure to a fix: a missing SPF entry or failed DKIM usually needs a DNS update, a PTR mismatch needs a correction at your IP provider, and a connector rejecting valid mail may need its TLS requirement reconsidered against what the sending device actually supports.
If the issue persists past these checks, escalate with the full SMTP transcript, exact timestamps, and the specific reply code; that combination is almost always what a vendor's support team asks for first.
A step-by-step checklist to finish setup and confirm delivery
Work through this in order and you will catch most configuration gaps before they reach production mail flow.
- Verify your sending domain in Microsoft 365 or Google Workspace and confirm DNS has propagated.
- Publish or update SPF to include your tenant MX endpoint's IPs or Google's relay ranges.
- Enable DKIM signing for the domain and confirm the selector record resolves.
- Choose your relay path: Microsoft 365 connector (IP or TLS cert) or
smtp-relay.gmail.com(IP allowlist or SMTP AUTH). - Configure the sending device or Postfix instance with the correct host, port, and authentication method.
- Confirm outbound port 25, 587, or 465 is open through any firewall between the sender and the relay.
- Check that PTR records resolve correctly for every sending IP.
- Send a test message to an external mailbox you control and inspect headers for SPF, DKIM, and DMARC pass results.
- Monitor the first production batch at reduced volume before scaling to full throughput.
A quick dig MX yourdomain.com and dig TXT yourdomain.com confirm your MX and SPF records are live before you trust a device to send through them. If a cutover does not go cleanly, keep the previous relay path configured in parallel so you can roll back a device's settings without a service interruption, and throttle new sending sources gradually rather than pointing every device at the new relay at once.
Pro Tip: Send your first test batch to a mailbox at a different provider than your sending domain, since same-provider tests can mask authentication issues that only show up cross-provider.
When a managed relay makes more sense than self-hosting
Everything above works, but it also comes with ongoing operational weight: monitoring reputation, rotating credentials, watching rate limits, and reacting the moment a receiving provider changes its policy. That overhead is manageable at low volume and genuinely burdensome once sending scales or touches regulated flows like payment receipts and one-time codes.
A managed relay shifts that operational load elsewhere while still giving you standard SMTP credentials to plug into existing devices and apps. Our own SMTP relay service handles double opt-in for contacts and automated suppression shared across transactional and marketing sends, backed by a 99.9% uptime SLA, with security practices covering TLS and certificate handling documented for teams evaluating the trade-off.
The honest way to decide: if your sending volume is small, your team has spare capacity to own DNS and reputation work, and nothing time-sensitive rides on delivery, self-hosting or a cloud relay is fine. If volume is growing or deliverability directly affects revenue, a managed relay removes a recurring maintenance burden.
— Paul
Get SMTP relay running without the maintenance overhead
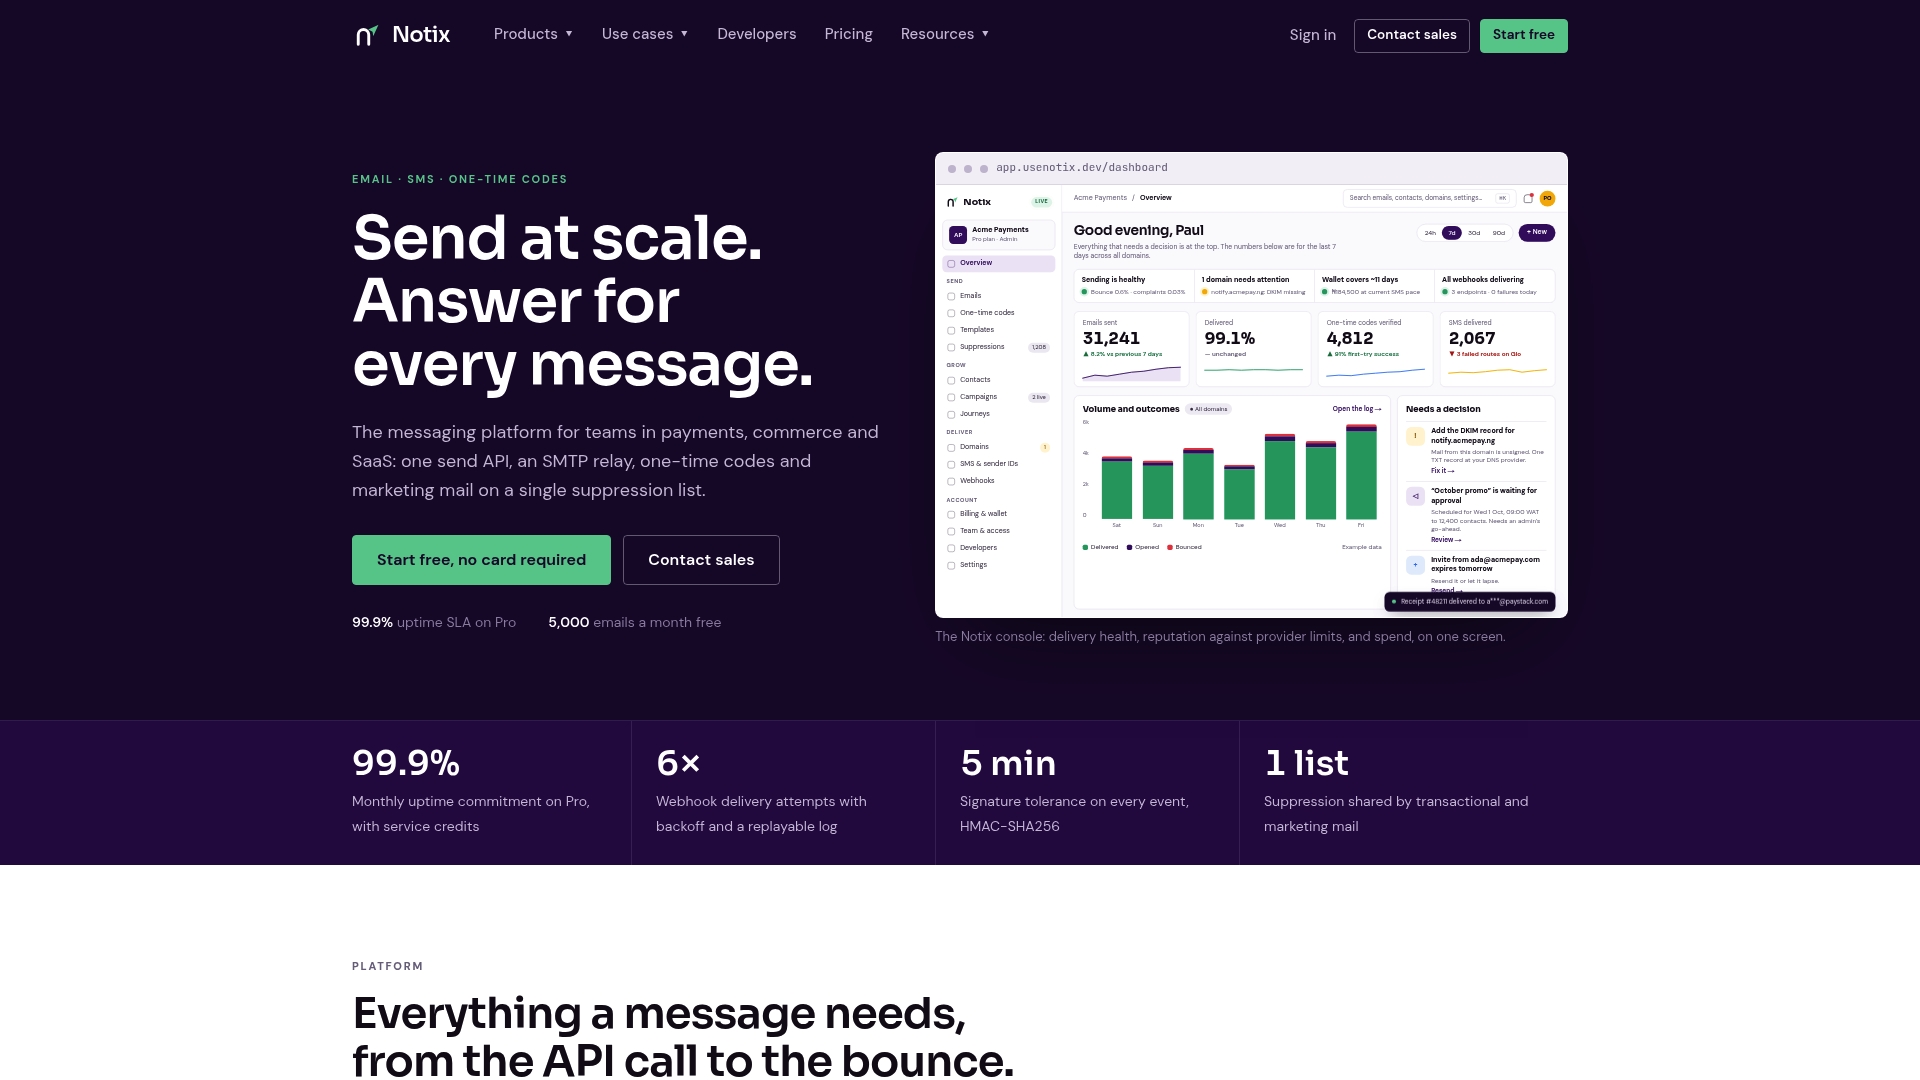
We built our SMTP relay for teams who want standard SMTP credentials that just work, without owning reputation management, suppression lists, or TLS certificate renewals. It plugs into the same devices and apps you already configured above, but the deliverability tooling runs on our side.
- One SMTP endpoint for transactional mail, OTP codes, and campaign sends, documented on our SMTP relay page.
- Suppression and double opt-in applied automatically across message types to help maintain sending reputation.
- Transparent, volume-based pricing starting with a Free plan and a Pro plan at $15 per month, with Enterprise agreements available for higher volume.
Check current plan limits and get started on our pricing page, or set up your first relay credentials directly from your SMTP relay dashboard.
FAQ
Does Microsoft 365 allow SMTP relay?
Yes, Microsoft 365 supports SMTP relay through an inbound connector that authenticates by static public IP address or TLS certificate, using your tenant's MX endpoint rather than the standard client submission hostname. This mode is distinct from mailbox-based SMTP AUTH and remains supported for devices like printers and scanners that cannot use modern authentication.
What is an SMTP relay?
An SMTP relay is an intermediary mail server that accepts outbound messages from a device or application and forwards them toward their final destination, typically authenticating the sender by IP address, TLS certificate, or stored credentials rather than per-message login. It is commonly used for devices and legacy systems that cannot handle the authentication methods required for direct client submission.
Which port should I use for SMTP, 587 or 465?
Port 587 with STARTTLS is the standard choice for client submission and most modern relay configurations, since it negotiates encryption during the session and is widely supported. Port 465 uses implicit TLS from the start of the connection and remains an option with providers like Google Workspace's SMTP relay, which also supports port 25 for legacy and tenant MX scenarios.
Is there a free SMTP relay available?
Yes, several providers offer free-tier SMTP relay access with usage limits suited to low-volume sending or testing, including our own Free plan at $0 per month. Google Workspace and Microsoft 365 also include relay capability as part of an existing subscription rather than as a separate paid add-on, though both apply their own sending limits.
How do I troubleshoot an SMTP relay connection failure?
Start with a manual handshake test using telnet or openssl to confirm the relay host accepts a connection on the expected port, then walk through the MAIL FROM, RCPT TO, and DATA commands to isolate where the session fails. A 5xx reply code generally means a permanent rejection tied to authentication or policy, while checking your mail server's logs alongside the receiving provider's admin console usually reveals the specific cause.
Sources
- How to set up a multifunction device or application to send email using Microsoft 365 or Office 365
- Route outgoing SMTP relay messages through Google
- postconf(5) — Postfix configuration parameters